
 canaille
Plug a client application#
This tutorial will guide you through configuring Canaille as an OAuth2 / OpenID Connect (OIDC) provider by connecting a client application to it. The application will attempt to access users personal information, which users will need to explicitly authorize.
By the end of this tutorial, you will have:
Configured Canaille as an OIDC provider
Registered an OIDC client application in Canaille
Set up a demo client application
Tested a complete OIDC authentication flow
Prerequisites#
Before starting this tutorial, you should have:
Canaille installed and running (see Getting started for installation instructions)
At least one user account created in Canaille
We’ll use Authlib’s Auth Playground as our demo client application, which provides an interactive interface to test OIDC flows. In real life, this would not be Auth Playground but any application that you would connect to Canaille. This could be an application that you develop, a file manager like Nextcloud, a webmail like Roundcube etc.
Step 1: Enable OIDC in Canaille#
OpenID Connect is enabled by default in Canaille,
so unless you explicitly disabled it by tweaking ENABLE_OIDC,
there is nothing to do!
Step 2: Register an OIDC Client in Canaille#
Now we’ll register a client application in Canaille. This creates the credentials needed for the client to authenticate with Canaille.
Using the Web Interface#
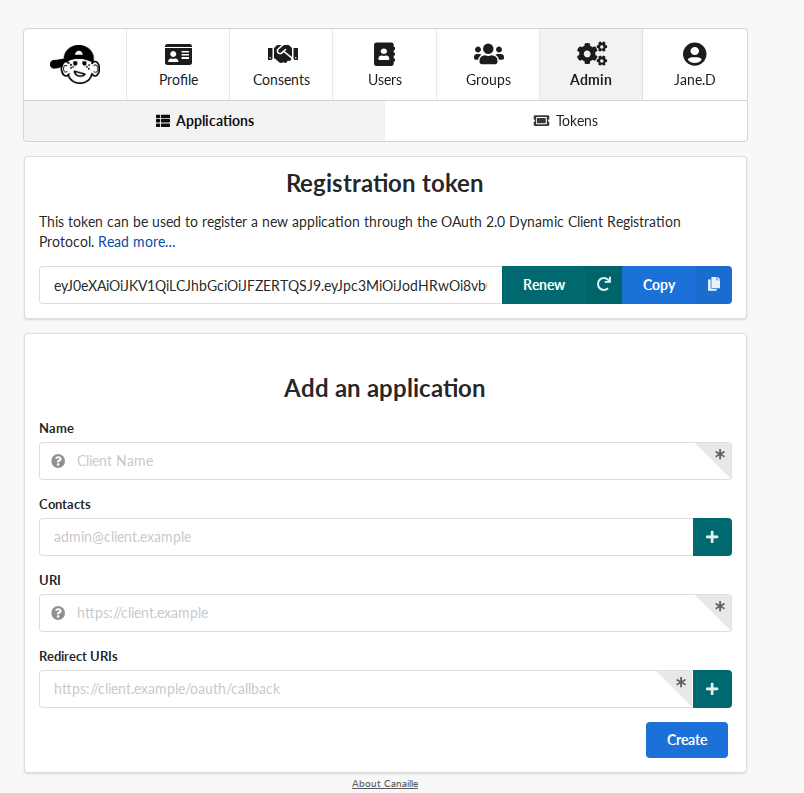
The OIDC client registration form.#
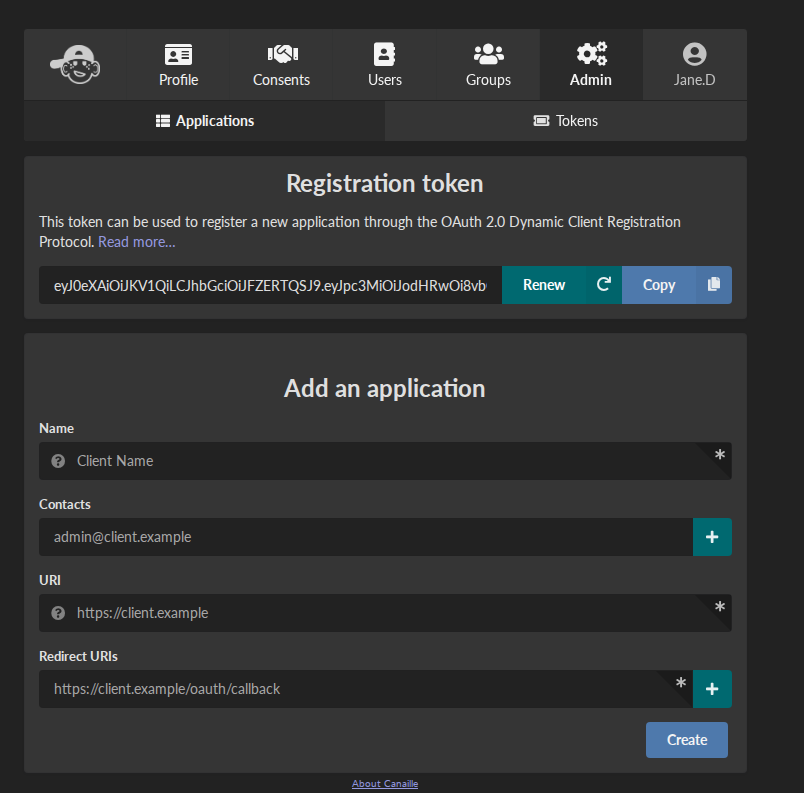
The OIDC client registration form.#
Log in to Canaille at http://localhost:8000
Navigate to Clients in the menu
Click the + Add button
Fill in the client details:
Client name: Auth Playground
Contacts: your-email@example.com
Redirect URIs:
http://localhost:4000/authorize_callback
http://localhost:4000/logout_callback
Post logout redirect URIs: http://localhost:4000/
Grant types: Select authorization_code
Response types: Select code
Scope: Select openid, profile, and email
Token endpoint auth method: Select client_secret_post
Click Save
After saving, you’ll see your client details. Note down the following values - you’ll need them in the next step:
Client ID (e.g.,
abc123xyz)Client Secret (e.g.,
secret_value_here)
Using the Command Line#
Alternatively, you can register the client using Canaille’s CLI:
$ ./canaille create client \
    --client-name "Auth Playground" \
    --client-uri http://localhost:4000 \
    --contacts your-email@example.com \
    --redirect-uris http://localhost:4000/authorize_callback \
    --redirect-uris http://localhost:4000/logout_callback \
    --post-logout-redirect-uris http://localhost:4000/ \
    --grant-types authorization_code \
    --response-types code \
    --scope openid --scope profile --scope email \
    --token-endpoint-auth-method client_secret_post
$ docker run --rm -v ./data:/data yaalcoop/canaille:latest create client \
    --client-name "Auth Playground" \
    --client-uri http://localhost:4000 \
    --contacts your-email@example.com \
    --redirect-uris http://localhost:4000/authorize_callback \
    --redirect-uris http://localhost:4000/logout_callback \
    --post-logout-redirect-uris http://localhost:4000/ \
    --grant-types authorization_code \
    --response-types code \
    --scope openid --scope profile --scope email \
    --token-endpoint-auth-method client_secret_post
$ podman run --rm -v ./data:/data yaalcoop/canaille:latest create client \
    --client-name "Auth Playground" \
    --client-uri http://localhost:4000 \
    --contacts your-email@example.com \
    --redirect-uris http://localhost:4000/authorize_callback \
    --redirect-uris http://localhost:4000/logout_callback \
    --post-logout-redirect-uris http://localhost:4000/ \
    --grant-types authorization_code \
    --response-types code \
    --scope openid --scope profile --scope email \
    --token-endpoint-auth-method client_secret_post
$ uvx "canaille[front,oidc,server]" create client \
    --client-name "Auth Playground" \
    --client-uri http://localhost:4000 \
    --contacts your-email@example.com \
    --redirect-uris http://localhost:4000/authorize_callback \
    --redirect-uris http://localhost:4000/logout_callback \
    --post-logout-redirect-uris http://localhost:4000/ \
    --grant-types authorization_code \
    --response-types code \
    --scope openid --scope profile --scope email \
    --token-endpoint-auth-method client_secret_post
$ canaille create client \
    --client-name "Auth Playground" \
    --client-uri http://localhost:4000 \
    --contacts your-email@example.com \
    --redirect-uris http://localhost:4000/authorize_callback \
    --redirect-uris http://localhost:4000/logout_callback \
    --post-logout-redirect-uris http://localhost:4000/ \
    --grant-types authorization_code \
    --response-types code \
    --scope openid --scope profile --scope email \
    --token-endpoint-auth-method client_secret_post
The command will output the Client ID and Client Secret - note these down.
Step 3: Run the Demo Client Application#
We’ll use Authlib’s Auth Playground as our demo OIDC client. Install and run it using your preferred method:
$ wget https://github.com/authlib/auth-playground/releases/download/|auth_playground_version|/auth-playground -O auth-playground
$ chmod +x auth-playground
$ ./auth-playground
$ docker run --rm --network host ghcr.io/authlib/auth-playground:latest
$ podman run --rm --network host ghcr.io/authlib/auth-playground:latest
$ uvx auth-playground
$ pip install auth-playground
$ auth-playground
After these steps you will have a running client at http://localhost:4000.
Step 4: Configure the Client Application#
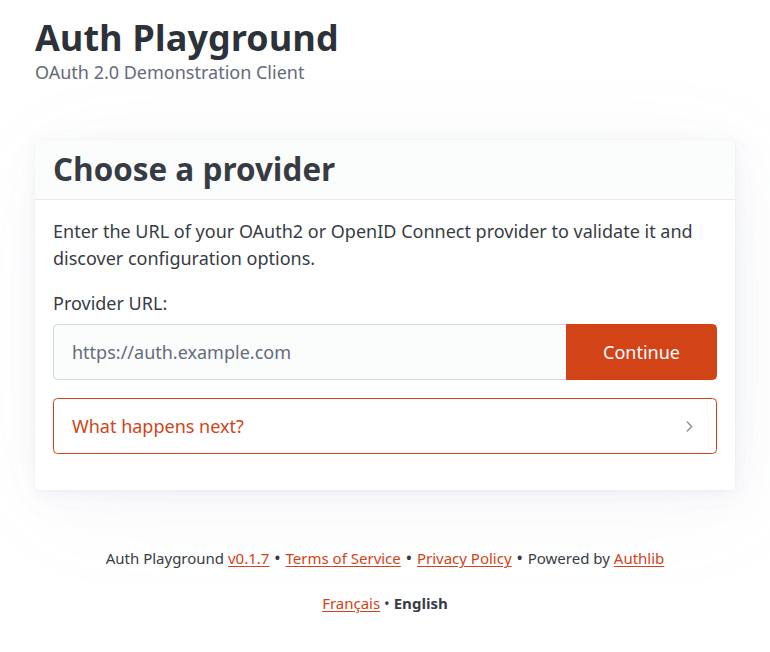
Auth Playground homepage.#
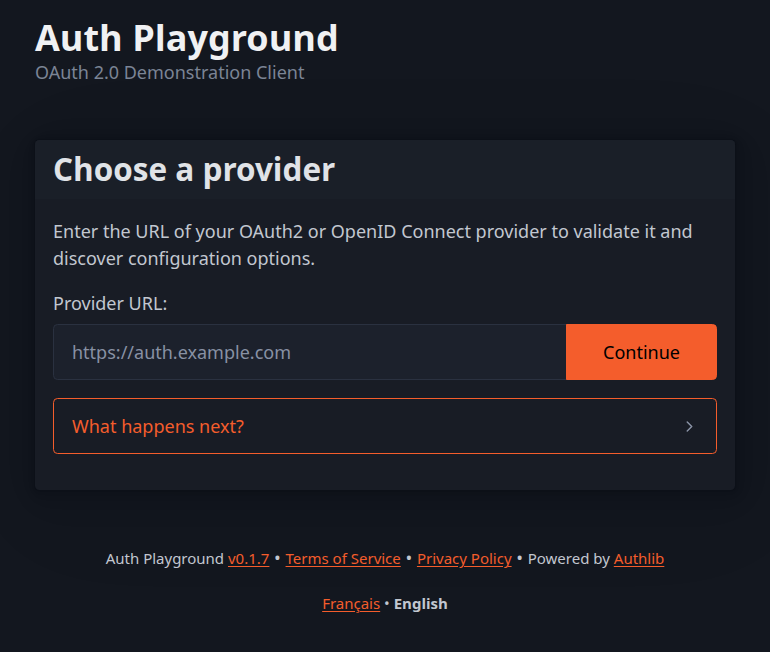
Auth Playground homepage.#
Now we need to configure Auth Playground to connect to your Canaille instance. Open http://localhost:4000, and fill the Canaille URL http://localhost:5000 in the Provider URL field.
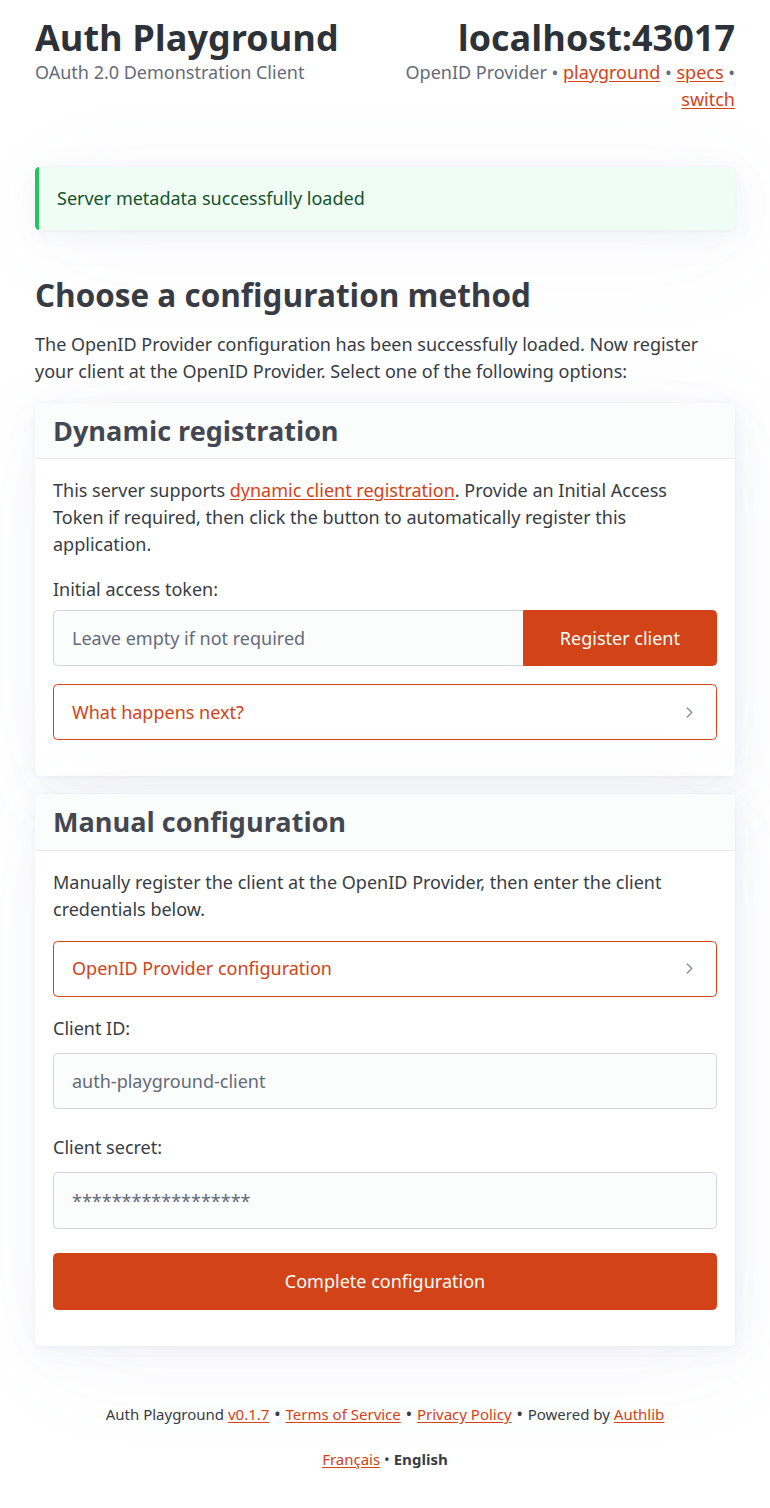
Auth Playground client configuration page.#
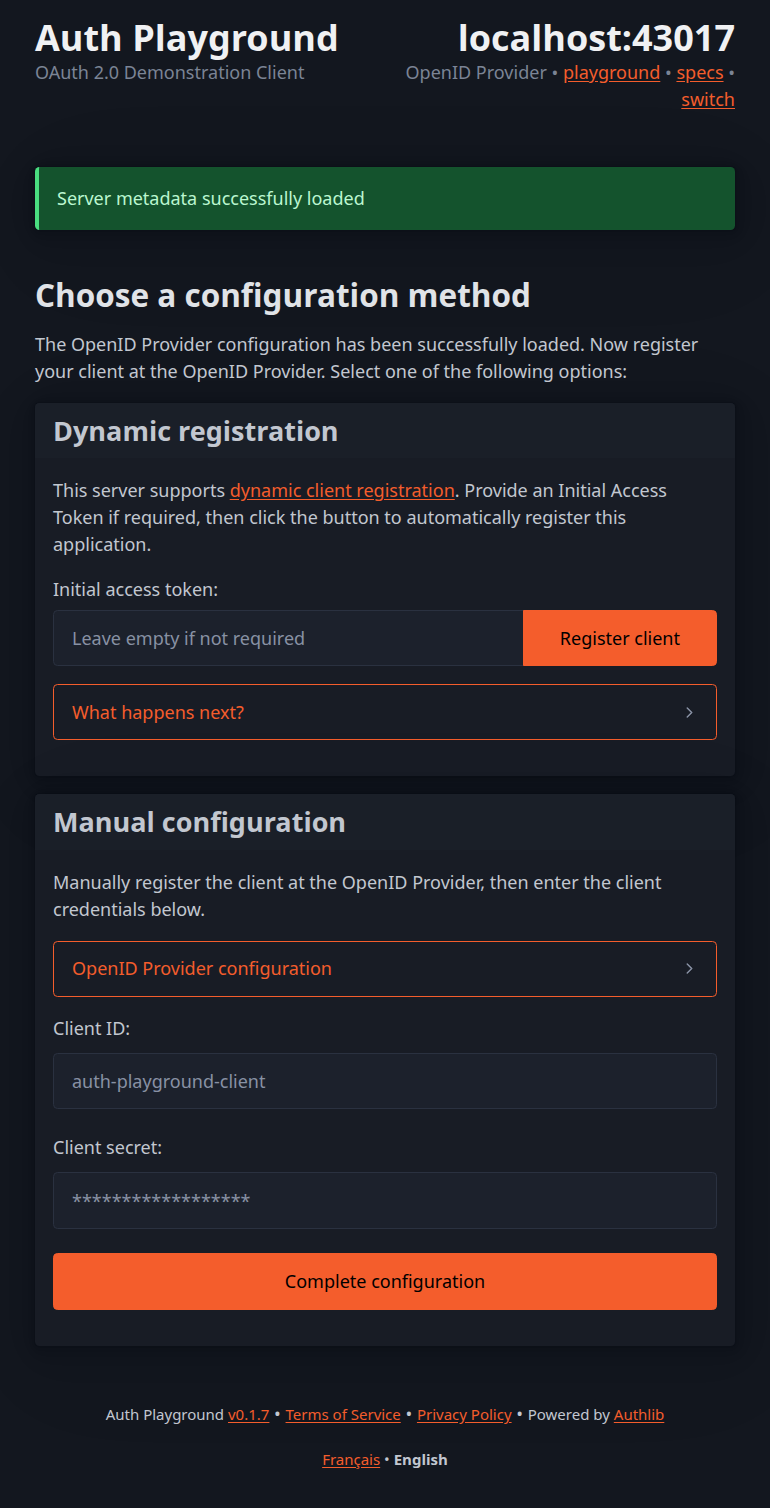
Auth Playground client configuration page.#
Under the Manual configuration section, you will then see a form. Fill it with the Client ID and client secret that you got on step 2, then validate. Now Auth Playground knows how to contact Canaille, and how to authenticate itself at Canaille, so it can allow you to perform additional operations, like logging in.
In real-world client applications, you generally need to give those information either through a configuration file, env variables, or by a web interface. This depends on the application, check the appropriate documentation where to configure OIDC.
Step 5: Test the OIDC Authentication Flow#
Now let’s perform an OIDC authentication:
Click on Sign in
You’ll be redirected to Canaille’s login page at http://localhost:8000
Enter your Canaille credentials (e.g.,
admin/admin123if you followed the getting-started tutorial)After successful authentication, you should see a consent screen asking you to authorize Auth Playground to access your profile information. Click Accept or Accept
You’ll be redirected back to Auth Playground (http://localhost:4000)
You should now be logged in! Auth Playground will display:
Your user information (name, email)
The access token received from Canaille
The ID token with your user claims
Other OIDC flow details
That’s it! This is basically what an OIDC authentication looks like. Your application redirects you to the Identity Provider, you sign-in and allow the application to access your data, and you get redirected to your application which now have access to your personal information.
You can play with Auth Playground to test more complex interactions between the client application and the Identity Provider.
Test Logout#
To test the complete flow:
In Auth Playground, click Logout
You’ll be redirected to Canaille’s an be logged-out from Canaille, but you won’t notice…
… because you will instantly be redirected back to Auth Playground’s homepage.
And now you are also disconnected from Auth Playground.