
 canaille
Getting started#
This tutorial will guide you through your first steps with Canaille, from installation to testing your first OAuth authentication flow.
By the end of this tutorial, you will have:
Ran Canaille on your system
Created your first users and groups
Tested a complete authentication flow
Step 1: Install Canaille#
Download the latest Canaille binary with your preferred method: one-file binary, Docker, or uv or pip.
$ wget https://github.com/yaal-coop/canaille/releases/download/0.3.4/canaille -O canaille
$ chmod +x canaille
$ docker pull yaalcoop/canaille:latest
$ podman pull yaalcoop/canaille:latest
$ uvx "canaille[front,oidc,server]" --version
$ pip install "canaille[front,oidc,server]"
Note
For uv and pip, the [front,oidc,server] extras install basic dependencies for running Canaille with its web interface, OpenID Connect support, and built-in server.
For more information about available extras, see Extras.
Check the Canaille version:
$ ./canaille --version
$ docker run --rm yaalcoop/canaille:latest --version
$ podman run --rm yaalcoop/canaille:latest --version
$ uvx "canaille[front,oidc,server]" --version
$ canaille --version
Step 2: Create Your Configuration File#
While you can run Canaille with zero configuration, to use Canaille in production you will need to tune some settings. Let’s create a configuration file with default values:
$ export CANAILLE_CONFIG=canaille.toml
$ ./canaille config dump --path $CANAILLE_CONFIG
$ mkdir -p data
$ docker run --rm yaalcoop/canaille:latest config dump > data/canaille.toml
$ mkdir -p data
$ podman run --rm yaalcoop/canaille:latest config dump > data/canaille.toml
$ export CANAILLE_CONFIG=canaille.toml
$ uvx "canaille[front,oidc,server]" config --path $CANAILLE_CONFIG
$ export CANAILLE_CONFIG=canaille.toml
$ canaille config dump --path $CANAILLE_CONFIG
This creates a canaille.toml file in your current directory with sensible defaults.
Open the file in your text editor and make a few essential changes,
basically choosing a SECRET_KEY
and a NAME for your instance.
SECRET_KEY = "change-me-to-a-random-string"

[CANAILLE]
NAME = "My Canaille Tutorial"
Tip
Change the SECRET_KEY to a random string. You can generate one with:
$ python3 -c "import secrets; print(secrets.token_hex(32))"
You can have a look at the configuration reference to get the exhaustive list of configuration parameters.
Step 3: Set up the database#
By default Canaille use a SQLite database named canaille.sqlite in the current directory,
but you might want to use another database, say PostgreSQL, in which case you will need to
create the database first and then edit your configuration file.
Create PostgreSQL database#
If you choose to use PostgreSQL, you need to create a database, say canaille,
and a user with appropriate permissions:
$ sudo -u postgres createuser --pwprompt canaille
$ sudo -u postgres createdb --owner=canaille_user canaille
Then update your configuration file:
[CANAILLE_SQL]
DATABASE_URI = "postgresql://canaille:your_secure_password@localhost/canaille"
Initialize the database#
Then let Canaille create the tables and run the migrations:
$ ./canaille install
$ docker run --rm -v ./data:/data yaalcoop/canaille:latest install
$ podman run --rm -v ./data:/data yaalcoop/canaille:latest install
$ uvx "canaille[front,oidc,server]" install
$ canaille install
To read in more depth how to configure SQL databases and LDAP directories, have a look at Databases.
Step 4: Create Your First Admin User#
Before running the web interface you need to create a first user.
By default, if you did not configure ACL,
an user called admin gets all the privileges.
$ ./canaille create user \
    --user-name admin \
    --password admin123 \
    --emails admin@example.com \
    --given-name Admin \
    --family-name User \
    --formatted-name "Admin User"
$ docker run --rm -v ./data:/data yaalcoop/canaille:latest create user \
    --user-name admin \
    --password admin123 \
    --emails admin@example.com \
    --given-name Admin \
    --family-name User \
    --formatted-name "Admin User"
$ podman run --rm -v ./data:/data yaalcoop/canaille:latest create user \
    --user-name admin \
    --password admin123 \
    --emails admin@example.com \
    --given-name Admin \
    --family-name User \
    --formatted-name "Admin User"
$ uvx "canaille[front,oidc,server]" create user \
    --user-name admin \
    --password admin123 \
    --emails admin@example.com \
    --given-name Admin \
    --family-name User \
    --formatted-name "Admin User"
$ canaille create user \
    --user-name admin \
    --password admin123 \
    --emails admin@example.com \
    --given-name Admin \
    --family-name User \
    --formatted-name "Admin User"
Warning
For this tutorial, we use a simple password. In production, always use strong, unique passwords!
Step 5: Start Canaille#
Now we are ready to start the Canaille server:
$ ./canaille run
$ docker run --rm -p 8000:8000 -v ./data:/data yaalcoop/canaille:latest
$ podman run --rm -p 8000:8000 -v ./data:/data yaalcoop/canaille:latest
$ uvx "canaille[front,oidc,server]" run
$ canaille run
You should see output similar to:
[2025-01-15 10:00:00 +0100] [12345] [INFO] Running on http://0.0.0.0:8000 (CTRL + C to quit)
Canaille is now running! Keep the terminal open.
Step 6: Access the Web Interface#
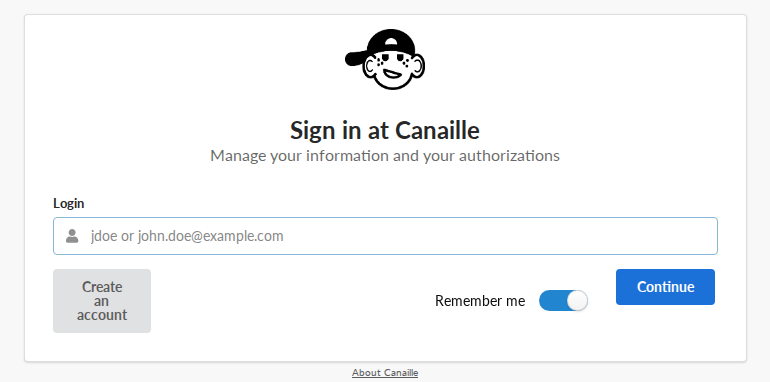
The login page.#
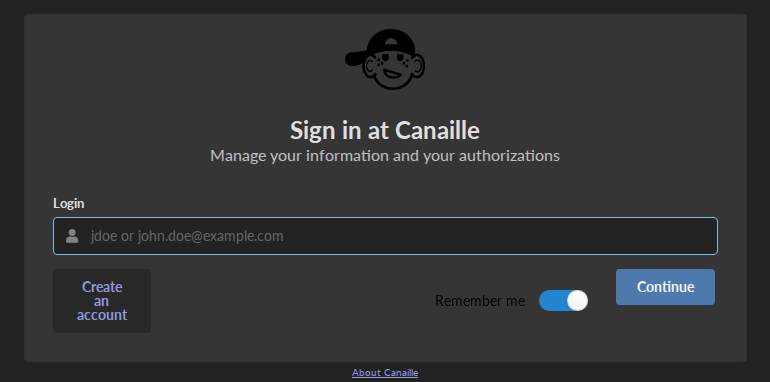
The login page.#
Open your web browser and navigate to:
http://localhost:8000
You should see the Canaille landing page. Click on Sign in in the bottom right corner.
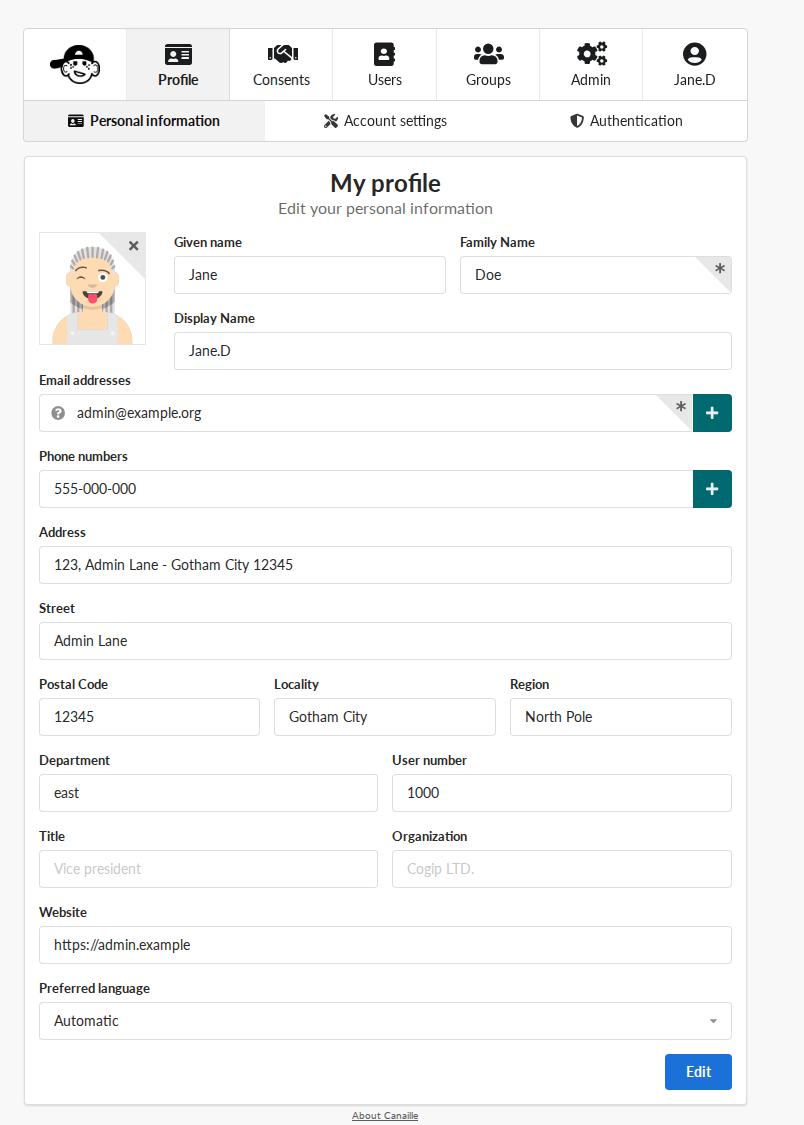
Your profile page after logging in.#
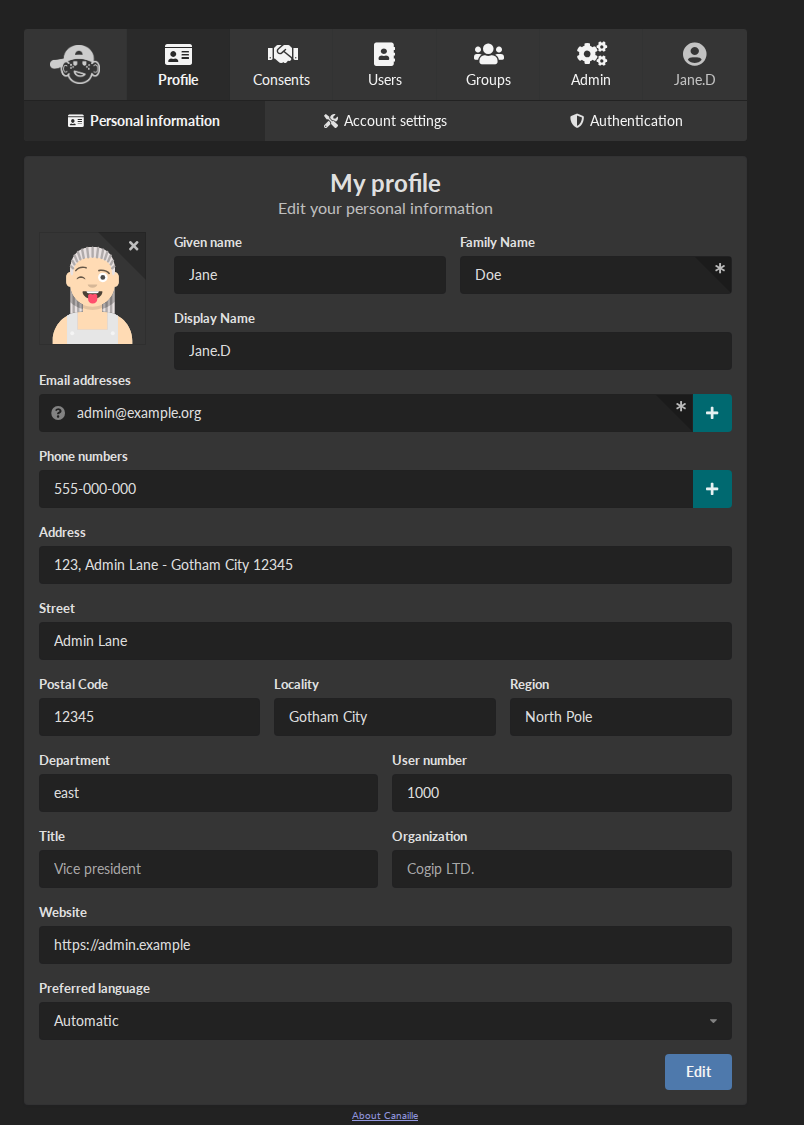
Your profile page after logging in.#
Log in with the credentials you created:
User name: admin
Password: admin123
After logging in, you’ll see your profile page. Take a moment to explore the interface.
Step 7: Create a Regular User#
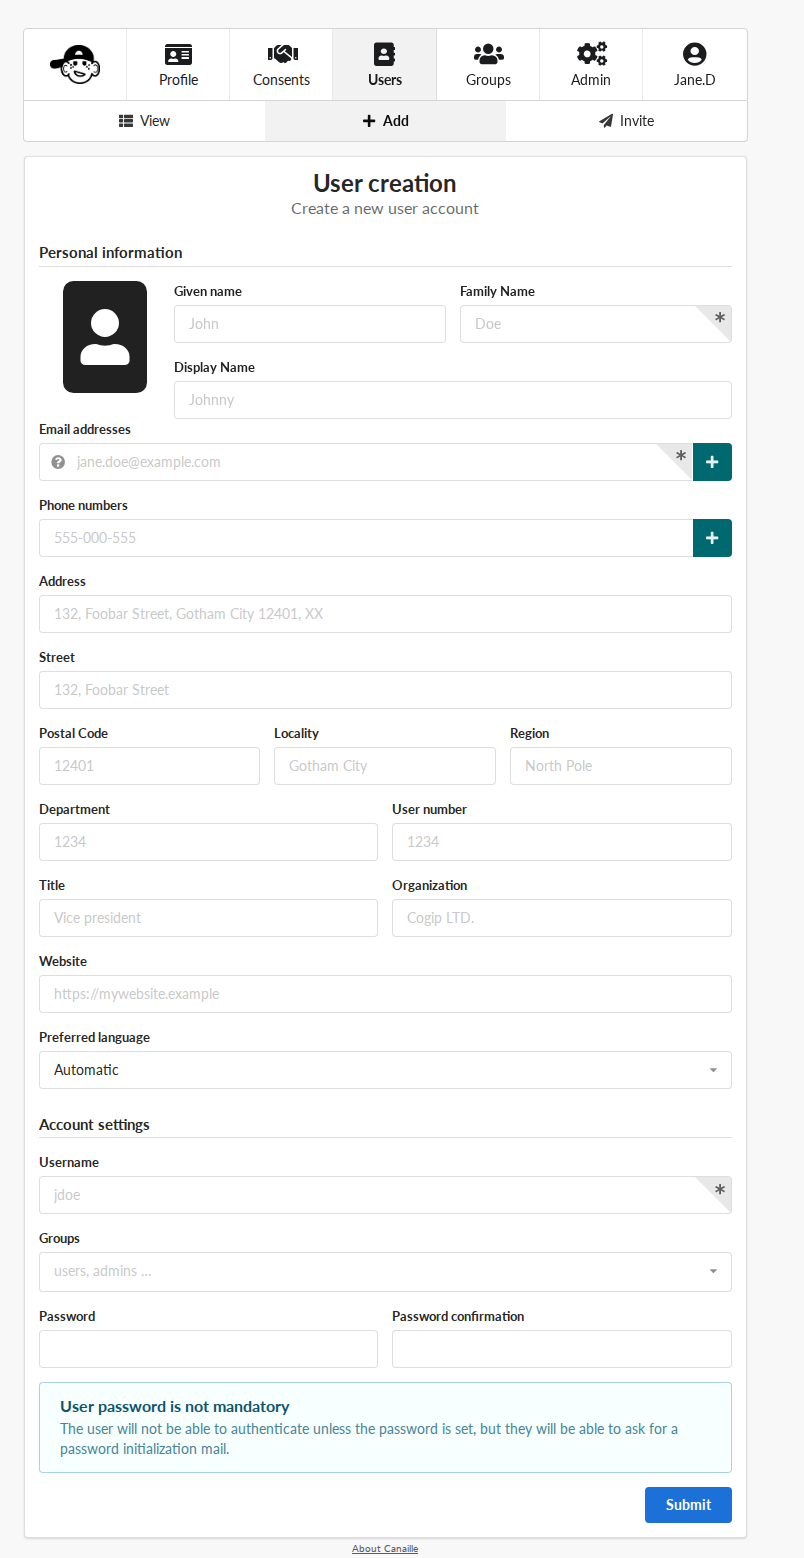
The user creation form.#
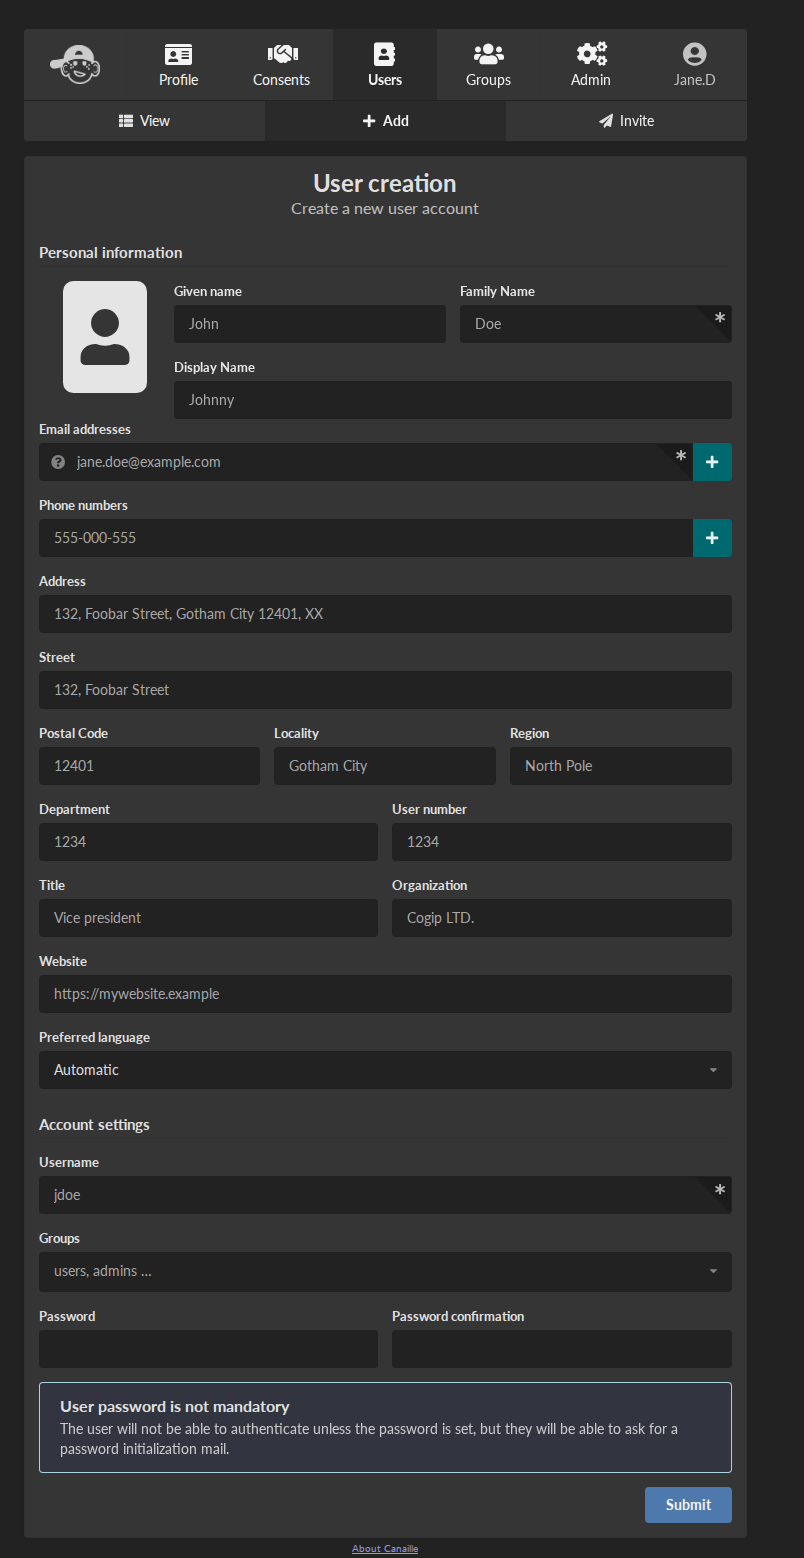
The user creation form.#
Now let’s create a regular user account. From the web interface:
Click on Users in the navigation menu
Click the + Add button
Fill in the form:
User name: john
Family name: Doe
Given name: John
Formatted name: John Doe
Email: john@example.com
Password: user123
Click Save
You’ve just created your first regular user!
Step 8: Create a Group#
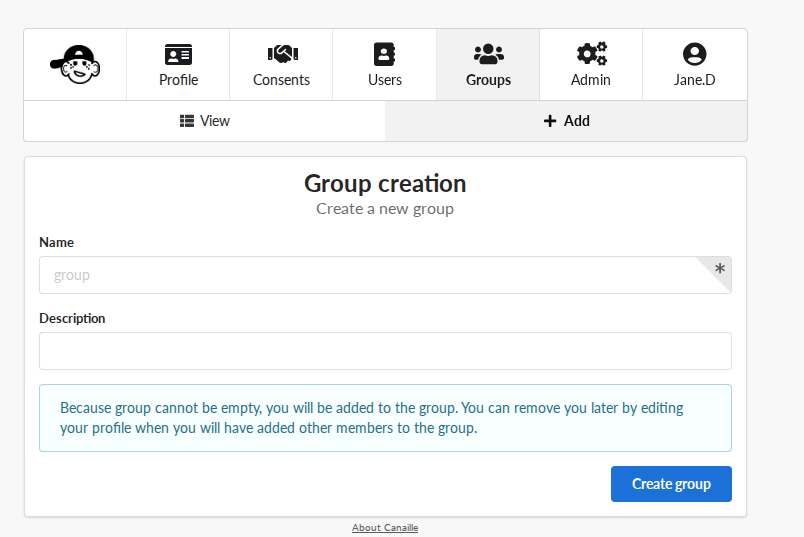
The group creation form.#
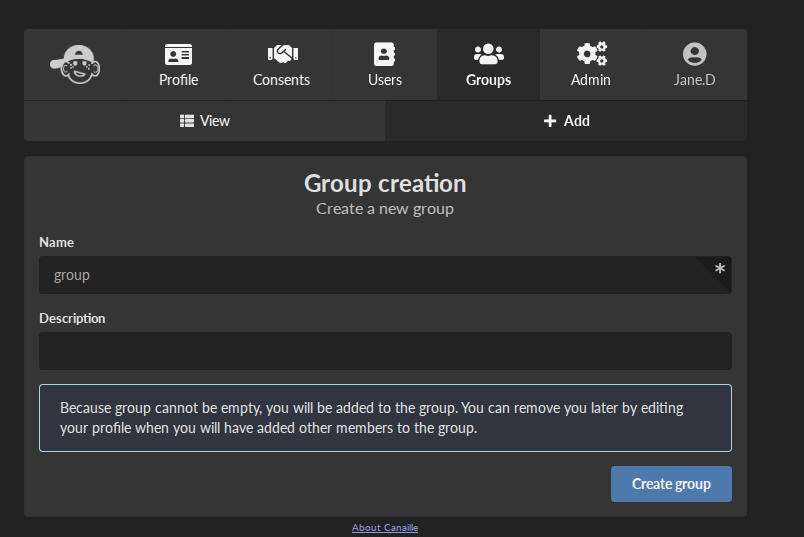
The group creation form.#
Groups help organize users. Let’s create one:
Click on Groups in the navigation menu
Click the + Add button
Fill in:
Name: developers
Description: Development team
In the Members section, select both admin and john
Click Save
Great! You now have users organized in a group.